How to Manage Custom Branding
| Open the Branding Editor |
| Customize Your Branding |
Custom branding lets you customize the appearance of your interview chat interface at the Team level. You can add logos, choose a color palette and background pattern, and customize button colors.
Branding is available on Pro and Enterprise plans. Only Team Owners and Administrators can update branding settings.
Project branding takes precedence over Team branding when a branded Project is used on an Enterprise plan. Project branding is configured separately in the Project's Branding tab.
Open the Branding Editor
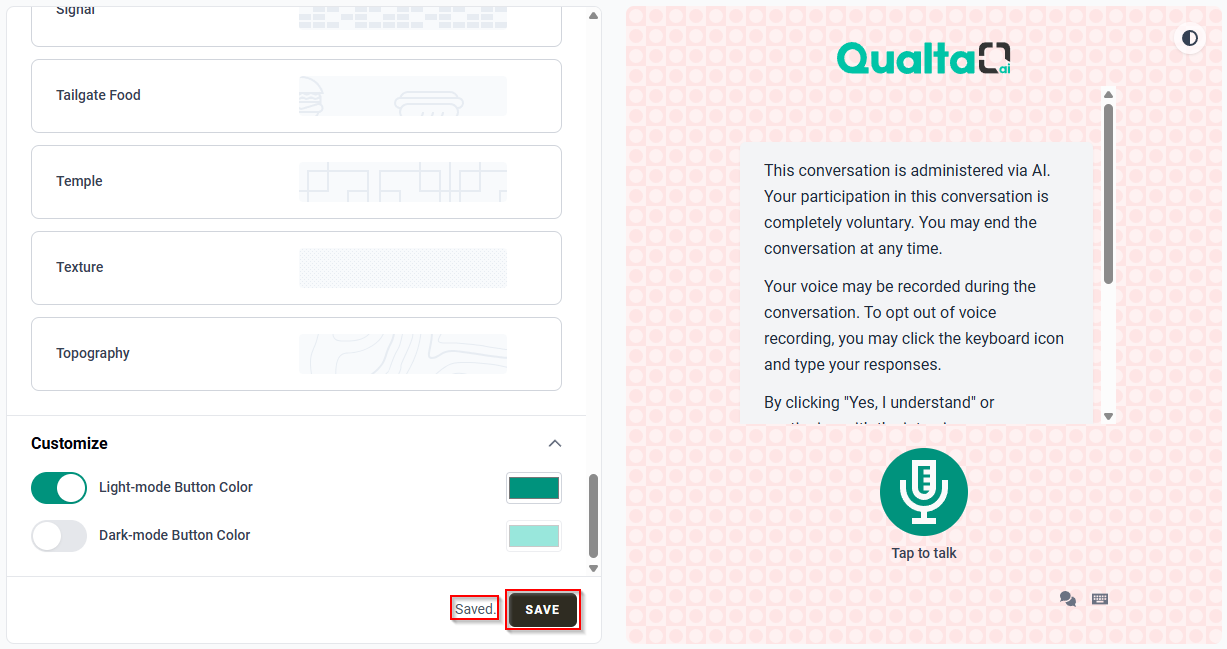
- From the main navigation menu, select Team.
- Select the Branding tab.
Customize Your Branding
Logo
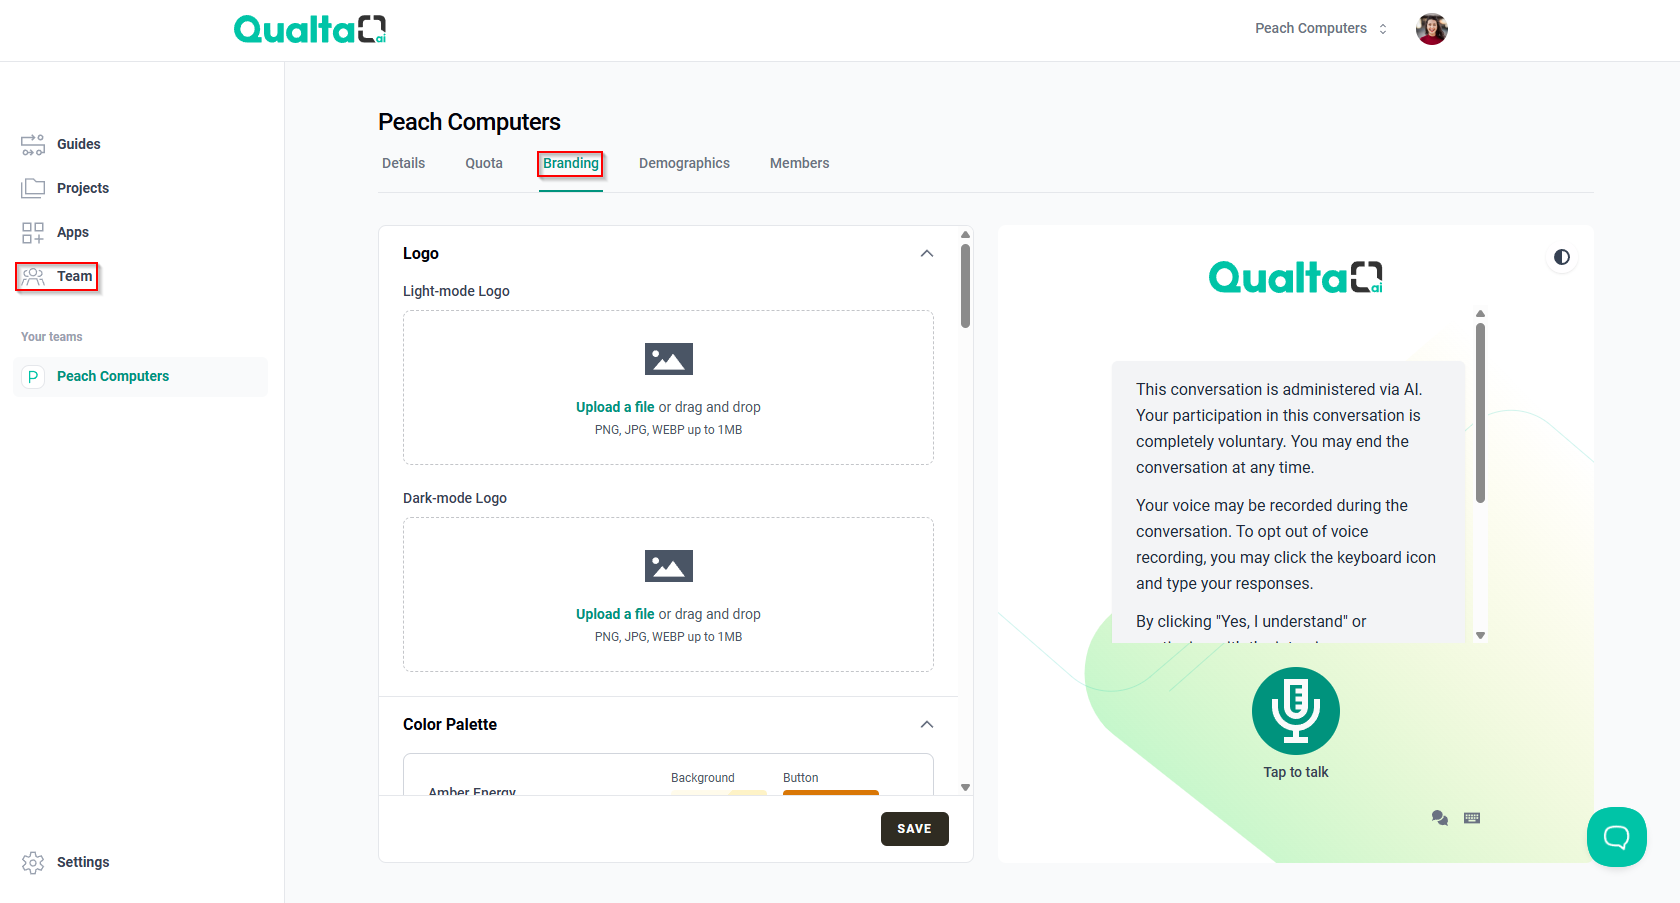
Add a logo for the light mode of your interview interface. When you upload a light-mode logo without a separate dark-mode logo, Qualta automatically generates a dark-mode version.
- Under Light-mode Logo or Dark-mode Logo, select Upload a file or drag and drop a logo into the corresponding upload area.
- Upload a PNG, JPG, or WEBP file up to 1 MB.
- Use the style mode icon in the upper-right corner of the preview to switch between light and dark mode and check how each logo appears.
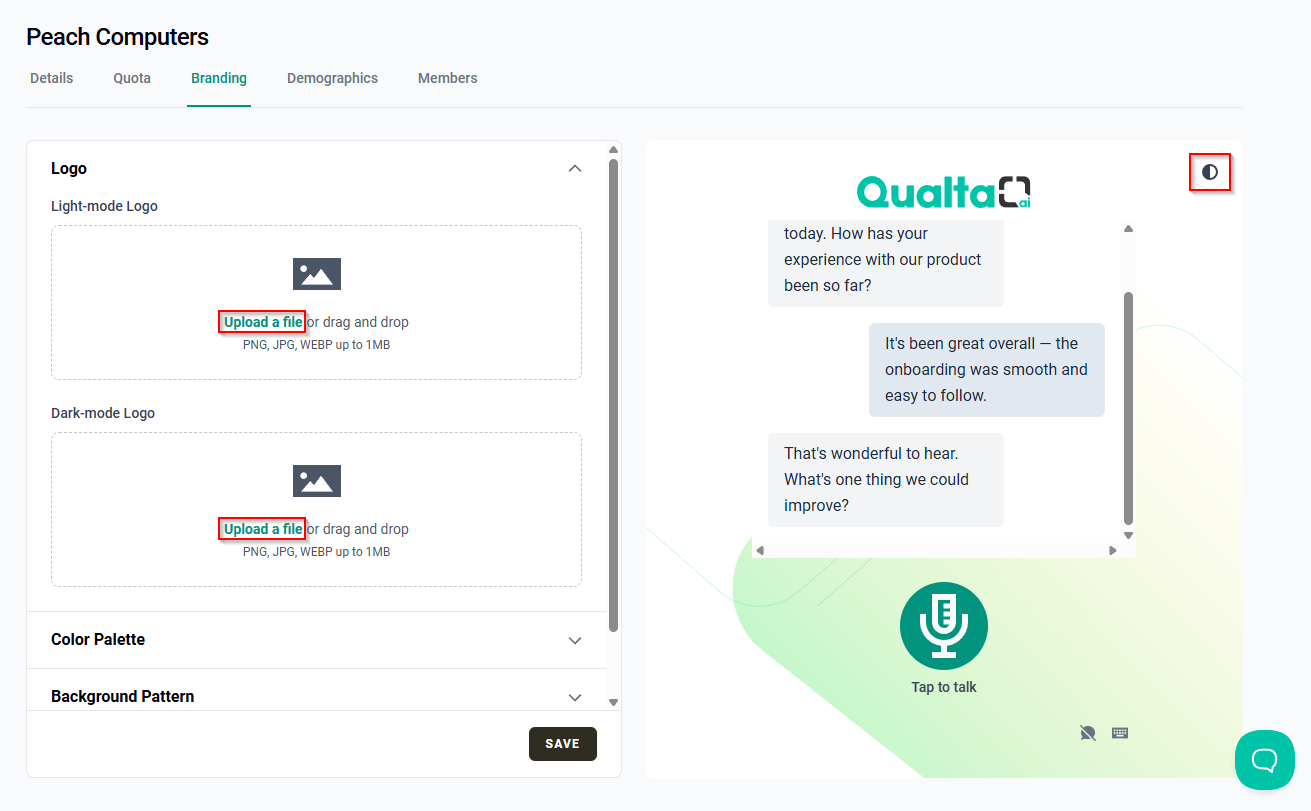
The automatically generated dark-mode logo appears in the dark-mode preview after you select SAVE.
Color Palette
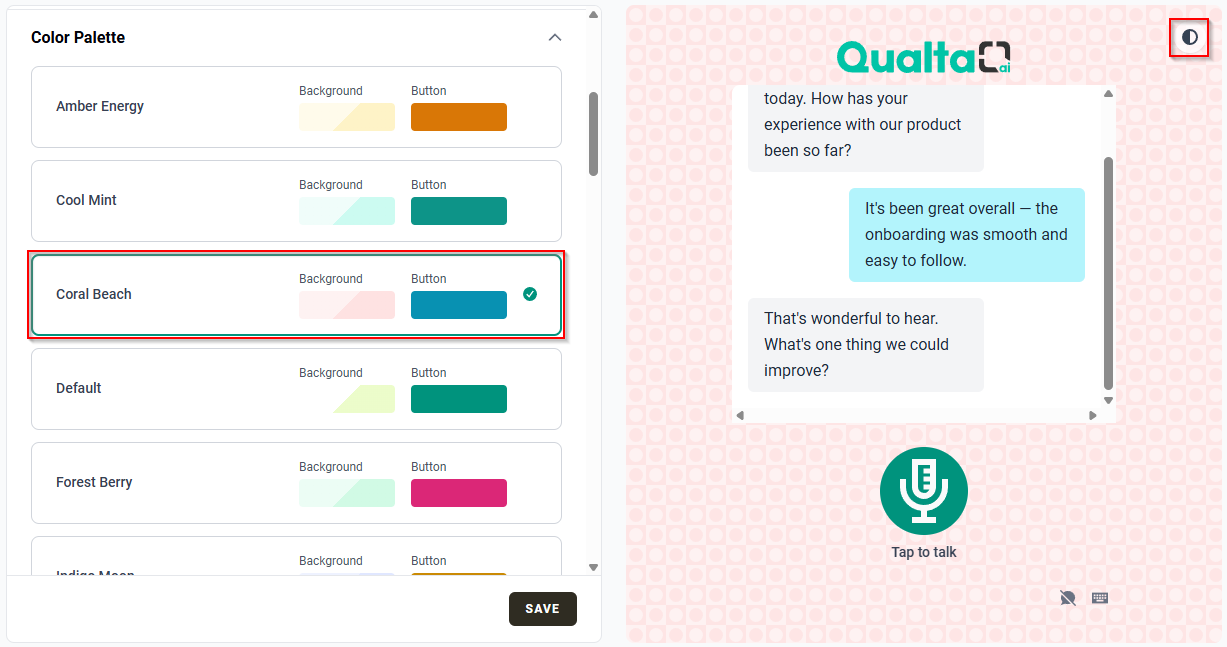
Choose a preset color palette for your interview interface. Each palette includes colors for the interface background and participant response bubbles.
- In the Color Palette section, select a palette.
- Use the style mode icon in the upper-right corner of the preview to switch between light and dark mode and see how the selected palette looks in each mode.
Selecting the Default color palette automatically selects the Default background pattern. Selecting a non-default color palette allows you to choose a different background pattern.
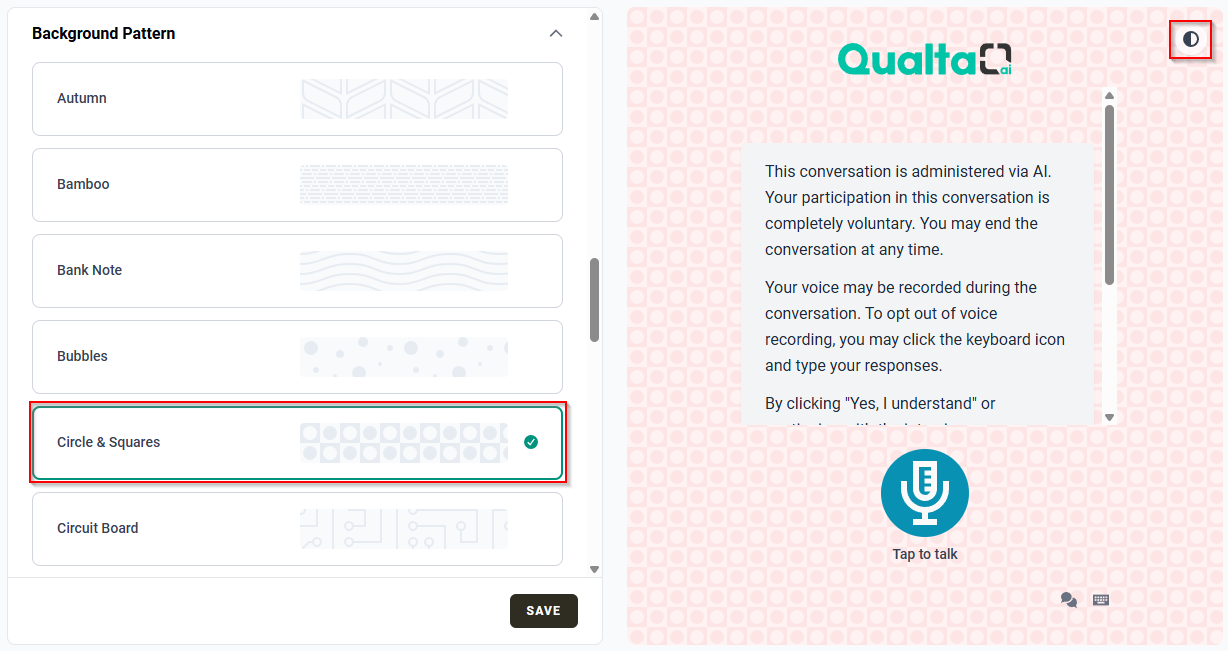
Background Pattern
Choose a background pattern for your interview interface.
- In the Background Pattern section, select a pattern.
- Use the style mode icon in the upper-right corner of the preview to switch between light and dark mode and see how the selected pattern looks.
Selecting the Default background pattern automatically selects the Default color palette. Selecting a non-default background pattern allows you to choose a different color palette.
Customize Button Colors
Customize the colors of interface buttons separately for light and dark mode.
- Turn on the toggle next to Light-mode Button Color or Dark-mode Button Color to enable customization for that mode.
- Select the color field next to the setting to open the color picker.
- Choose a color using the color picker, enter a color value, or use the eyedropper to select a color from your screen. When entering a color value, use the selector to switch between RGB, HSL, and HEX formats.
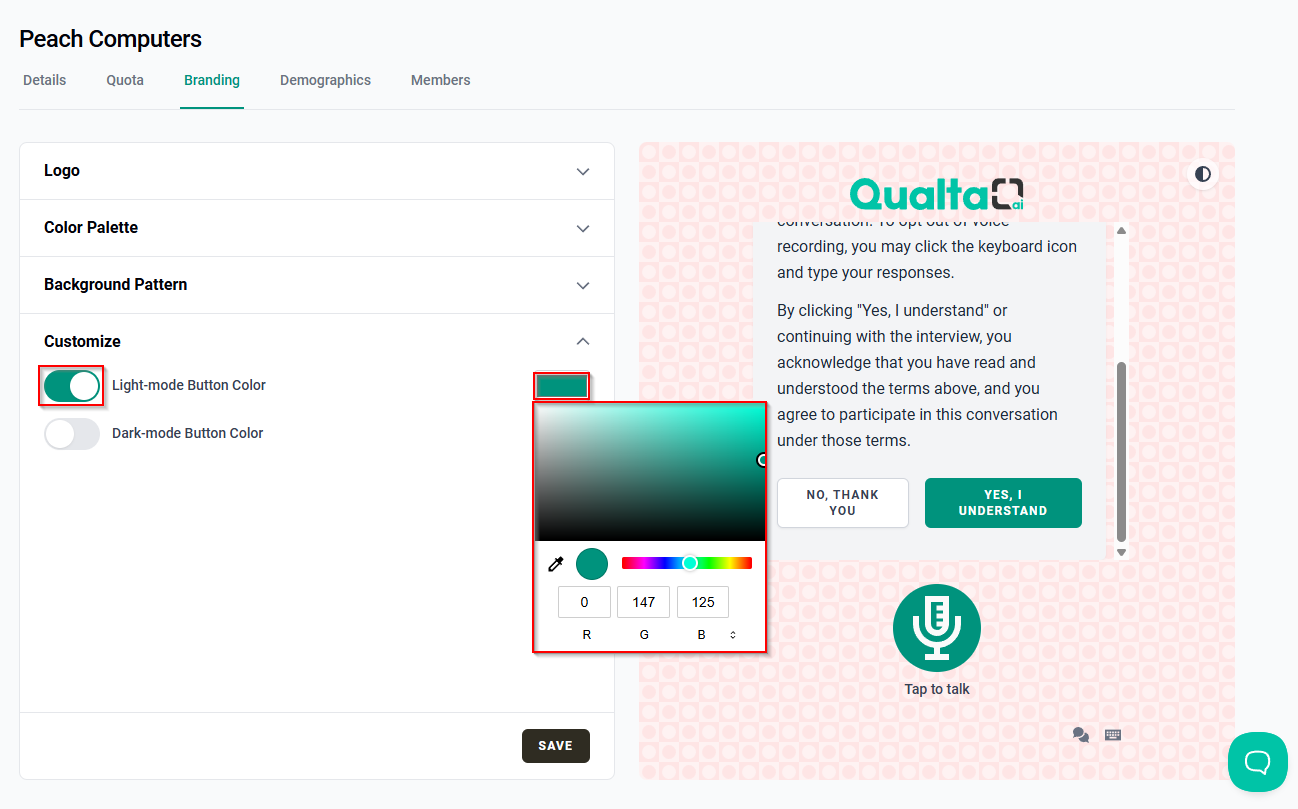
- Custom button colors apply to interface buttons, including the YES, I UNDERSTAND, Tap to talk, and SUBMIT buttons. Turn off the toggle to use the button color from the selected color palette instead.
- Repeat these steps for the other mode if you want to customize both button colors.
Preview Your Changes
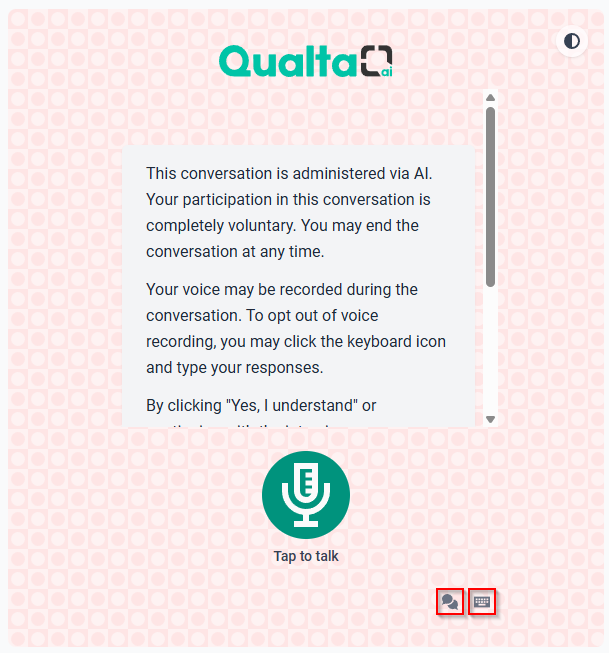
Use the controls at the bottom of the preview to view different aspects of the interview interface:
- Messages: Select the Messages icon to view sample message bubbles and see how they appear in the interview interface.
- Keyboard: Select the Keyboard icon to view the text-input area and see how it appears in the interview interface.
Save Your Changes
Branding changes are not saved automatically. When you're finished customizing your branding, select SAVE to apply all your changes. A Saved. status appears next to the SAVE button when your changes have been saved successfully.