
How to Manage Team Members
| Invite Team Member |
| Cancel Team Invitation |
| Update Team Member Role |
| Remove Team Member |
Whether you're adding a new collaborator or updating permissions for an existing one, the Team page is where you manage access and roles for your Qualta AI account.
This article will walk you through inviting new team members, adjusting their roles, and removing them from your team.
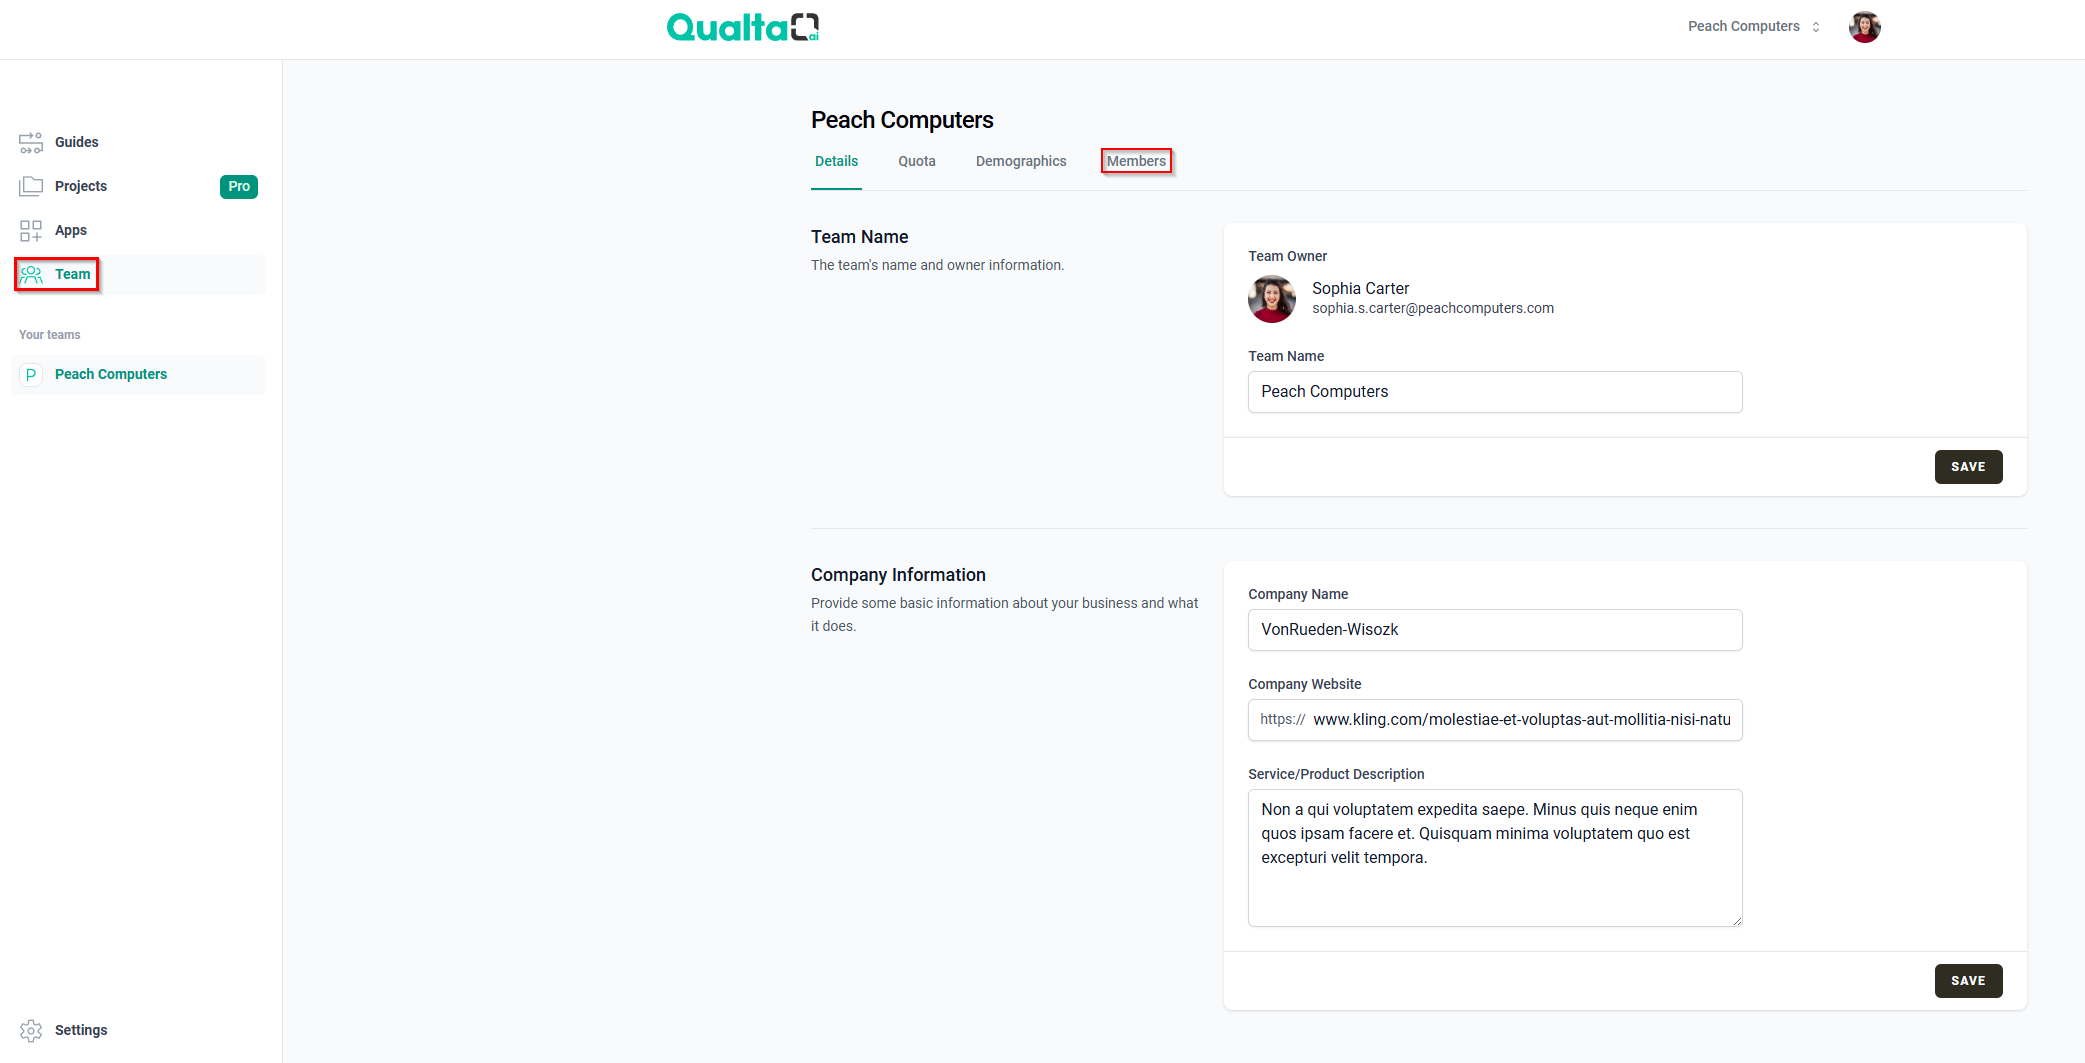
To get started, first navigate to the Team page in the navigation menu.
Click on the Members tab.
Invite Team Member
Find the Add Team Member section.
- In the Email field, enter the email address of the person you want to invite to the team.
- In the Role list, click on the desired role (e.g., Viewer, Editor, Manager, or Administrator) to assign it to the new team member. A green checkmark will appear next to the selected role. A description of each role's permissions is provided to help you choose.
- Finally, select ADD.

This sends an invitation email to the specified address. They will be prompted to either log in or create a Qualta AI account, and then click the Accept Invitation link within the email to join the team.
Cancel Team Invitation
Scroll down to the Pending Team Invitations section.
Locate the invitation you wish to cancel in the list, then click the Cancel button next to it.

This section will only appear if you have any pending team invitations.
Update Team Member Role
Scroll down to the Team Members section.
This section lists all members of your team, displaying their name, profile picture, and currently assigned role.
- To update a team member's role, click on their currently assigned role.

- In the Manage Role pop-up window, click on the new role (e.g., Viewer, Editor, Manager, or Administrator) you wish to assign to the team member. A green checkmark will appear next to the selected role.
- Select SAVE to confirm the role change. (Alternatively, select CANCEL to close the pop-up without making changes.)

Remove Team Member
Scroll down to the Team Members section.
This section lists all members of your team, displaying their name, profile picture, and currently assigned role.
- Select the Remove button next to the team member you wish to remove.

- In the Remove Team Member pop-up window, select REMOVE to confirm. (Alternatively, select CANCEL to close the pop-up without making changes.)
