How to Create a Project

Projects allow you to organize related Guides into a single workspace, making it easier to manage research activities and associated Guides.


Projects are available on Pro and Enterprise plans. Project Limits and Project Members are only available on Enterprise plans.


Create a New Project

To create a new Project:

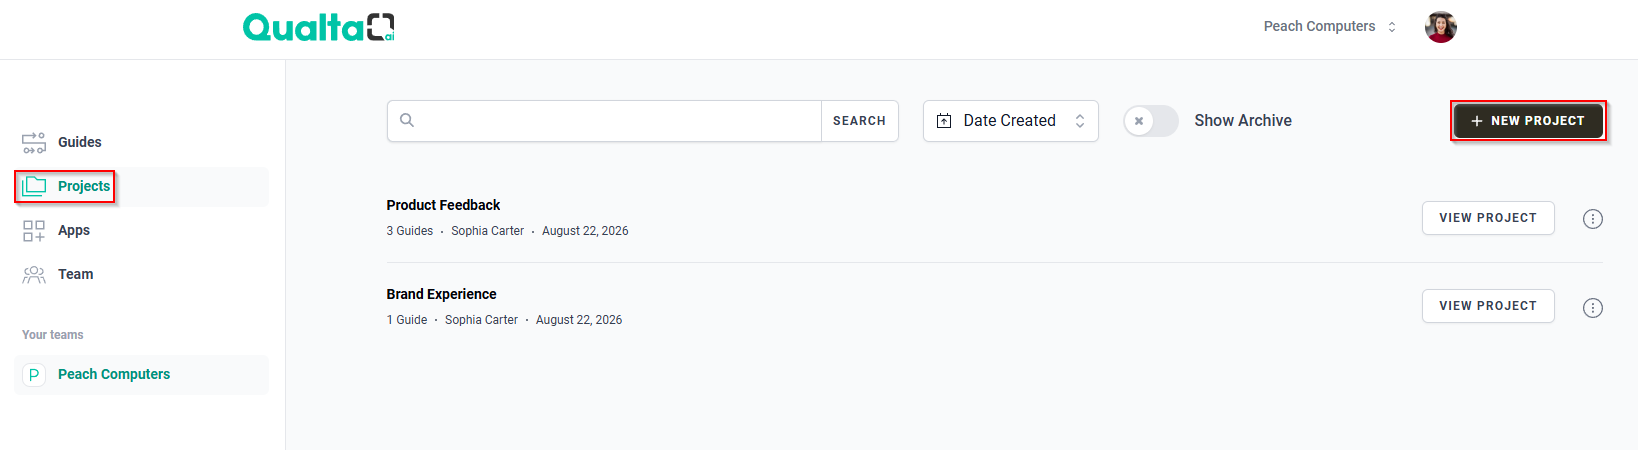
  1. Navigate to Projects from the main navigation menu.
  2. Click + NEW PROJECT.

The Projects tab and the + NEW PROJECT button.


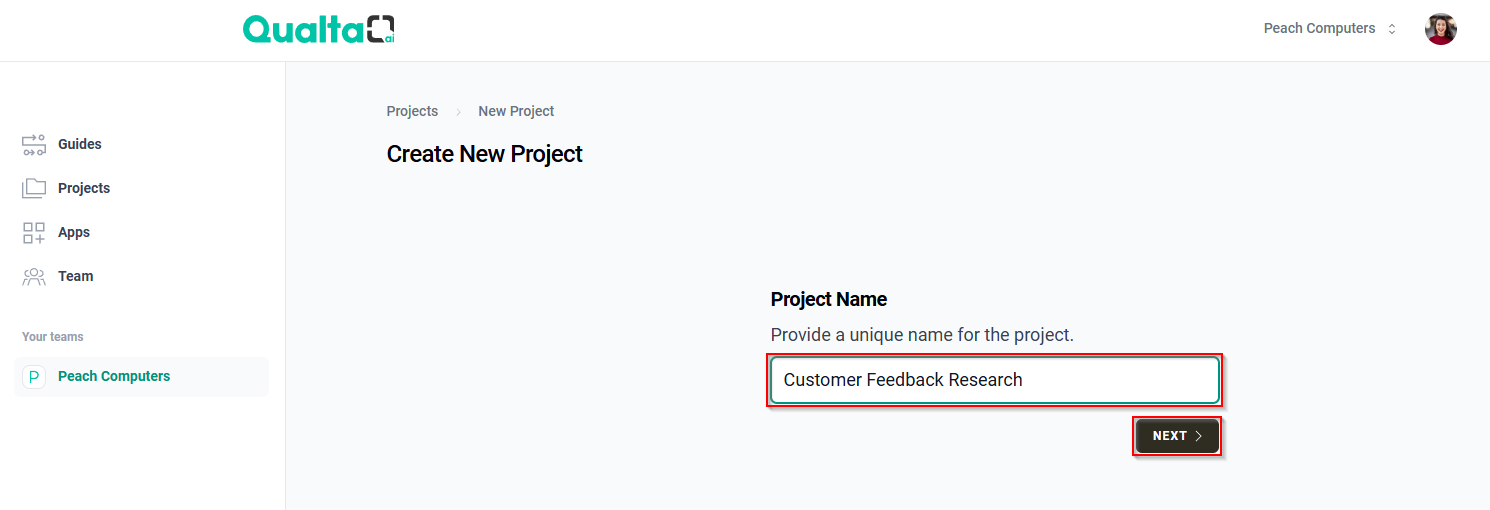
  1. Enter a Project Name.
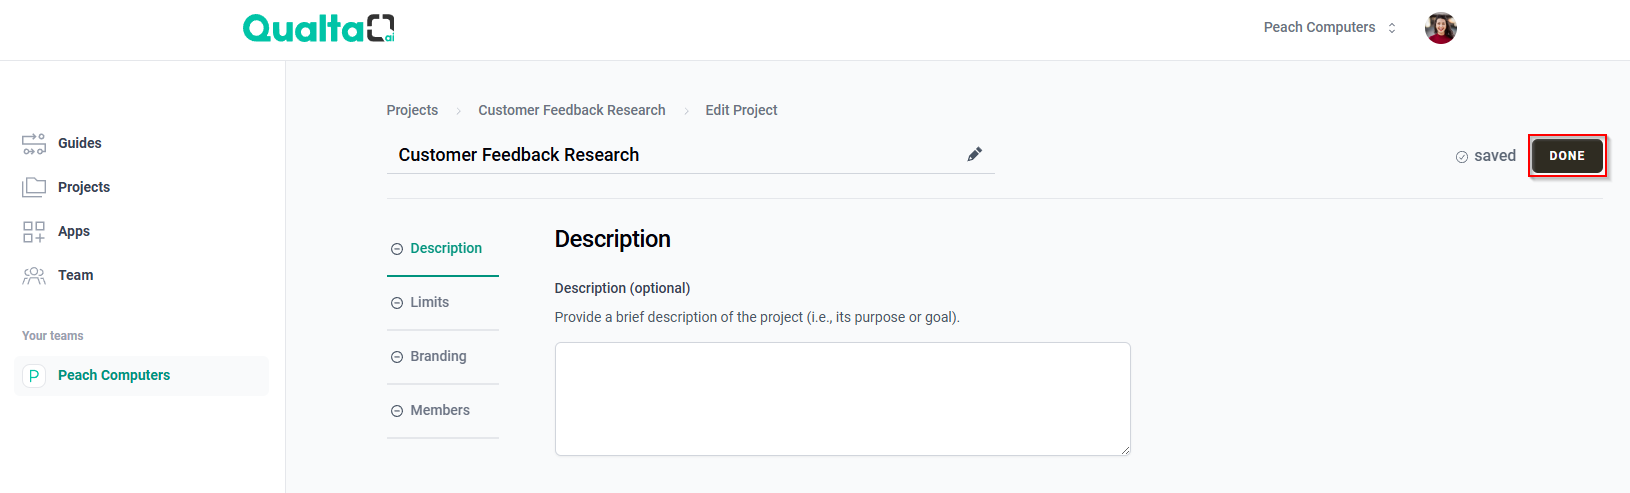
  2. (Optional) Enter a Description.

The Project Name and Project Description fields on the Create New Project page.


Configure Project Limits (Enterprise only)

If you are using an Enterprise plan, you can configure Project Limits before saving the Project.


Project Limits control the total number of interviews that can be conducted across all Guides in a Project. The Project Limit takes precedence over any interview limits configured for individual Guides.


Example: A Project contains two Guides with a Project Limit of 40 total interviews. If one Guide has already collected 30 interviews, the remaining Guide can collect only 10 more interviews.


Configure the following settings:

  • Interview Limit — Enter the maximum number of interviews allowed across all Guides in the Project. Enter 0 to remove the interview limit. The maximum value is 65,000.
  • Limit Period — Select how often the interview limit resets.
    • Total — The limit applies to the total number of interviews conducted over the lifetime of the Project.
    • Monthly — The limit applies to the number of interviews conducted in the last 30 days.
    • Annually — The limit applies to the number of interviews conducted in the last 365 days.

The Limits section showing the Interview Limit and Limit Period fields.


Add Project Members (Enterprise only)

If you are using an Enterprise plan, you can add Project Members before saving the Project.


To add a Project Member:

  1. Begin typing a team member's name, email address, or team role in the Member field.
  2. Select the team member from the list of matching results.
  3. Select a Project Role from the dropdown.
  4. Click ADD.

Added team members appear in the Added Members list. Before saving the Project, you can change a member's Project Role using the dropdown or remove them from the Project by clicking Remove.


For more information about Project Roles and managing Project Members after project creation, see How to Manage Project Members.


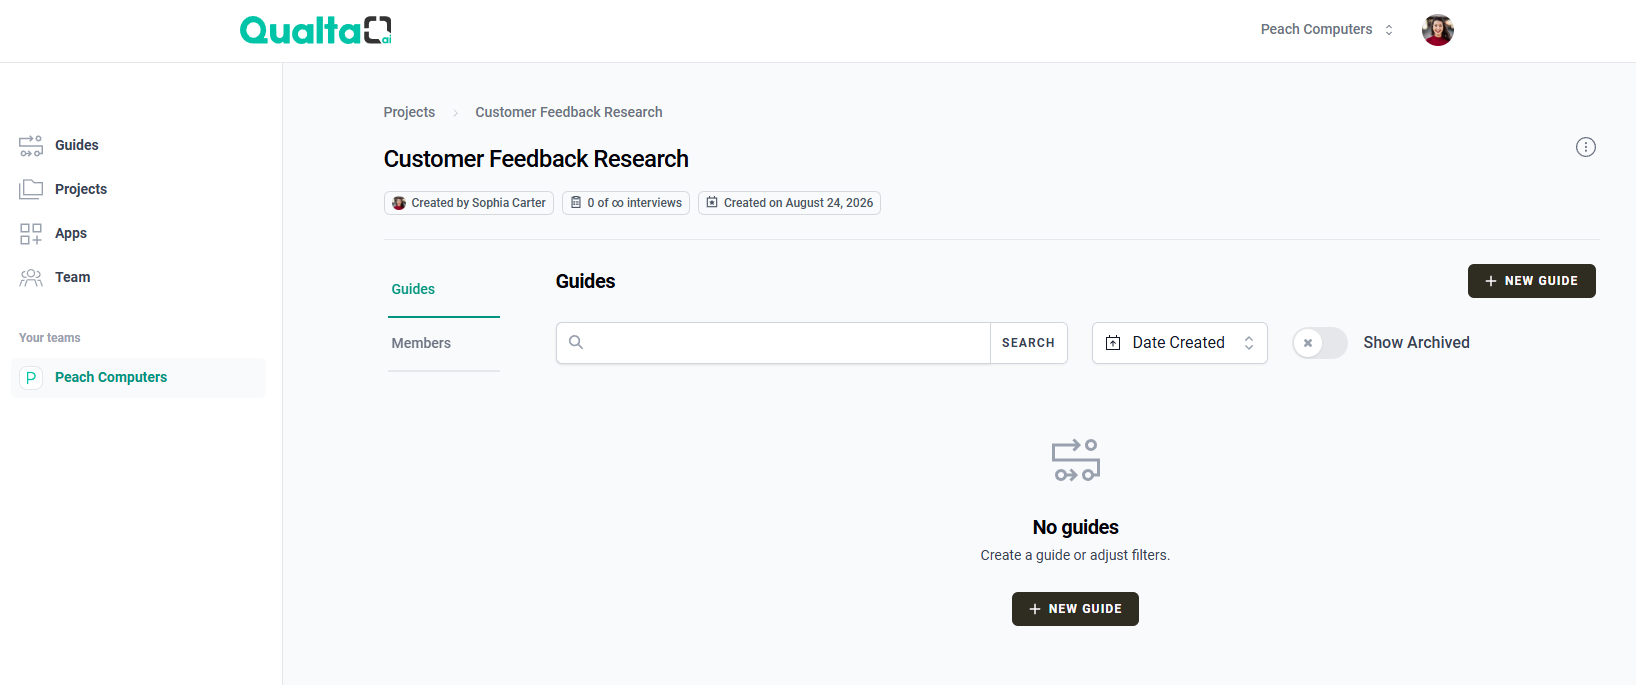
  1. Click SAVE.

The Project Members section showing the Member field, Project Role dropdown, ADD button, Added Members list, Remove button, and SAVE button.

Did this answer your question? Thanks for the feedback There was a problem submitting your feedback. Please try again later.

Still need help? Contact Us Contact Us