
How to Create a Demographic
The Demographics feature allows you to define custom demographic data points to collect from respondents. Creating a custom demographic is useful for gathering information that is specific to your research needs and is not available in the default list.
This article will guide you through the process of creating a new demographic from scratch.
Only Managers, Administrators, and Team Owners may manage demographics.
First, go to the Team page in the navigation menu.
Next, select the Demographics tab to view existing demographic options.
In the Demographics tab, click the + NEW DEMOGRAPHIC button in the upper right corner of the page.
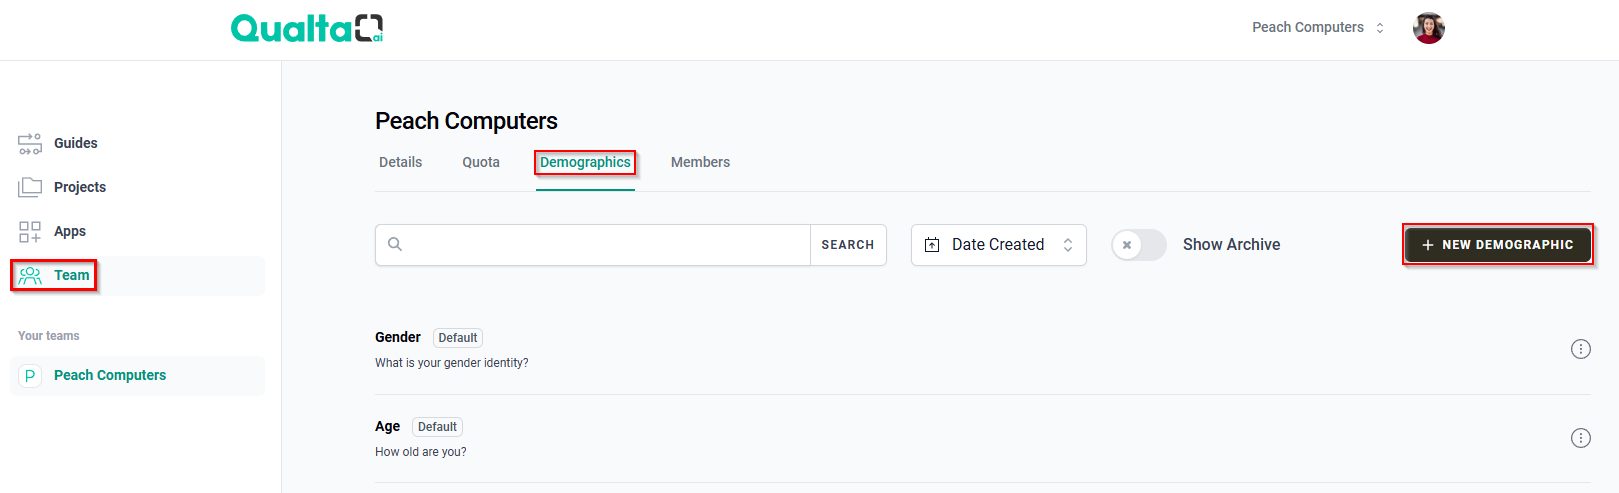
This opens the Create New Demographic page.
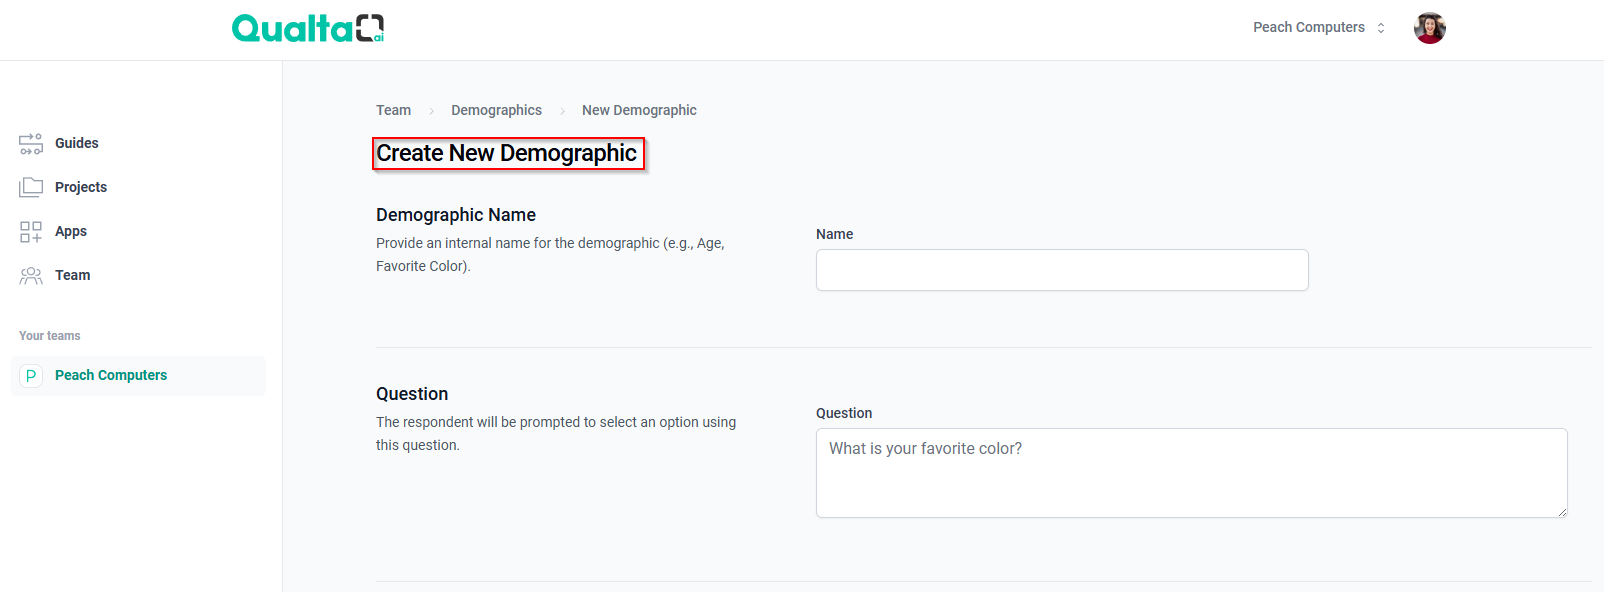
On the Create New Demographic page, follow these steps to configure your new demographic:
- Enter the Demographic Name:
- In the Name field, provide an internal name for the demographic (e.g., "Device Type").
This name is only visible to team members and helps identify the demographic within your account.

- Specify the Question Text:
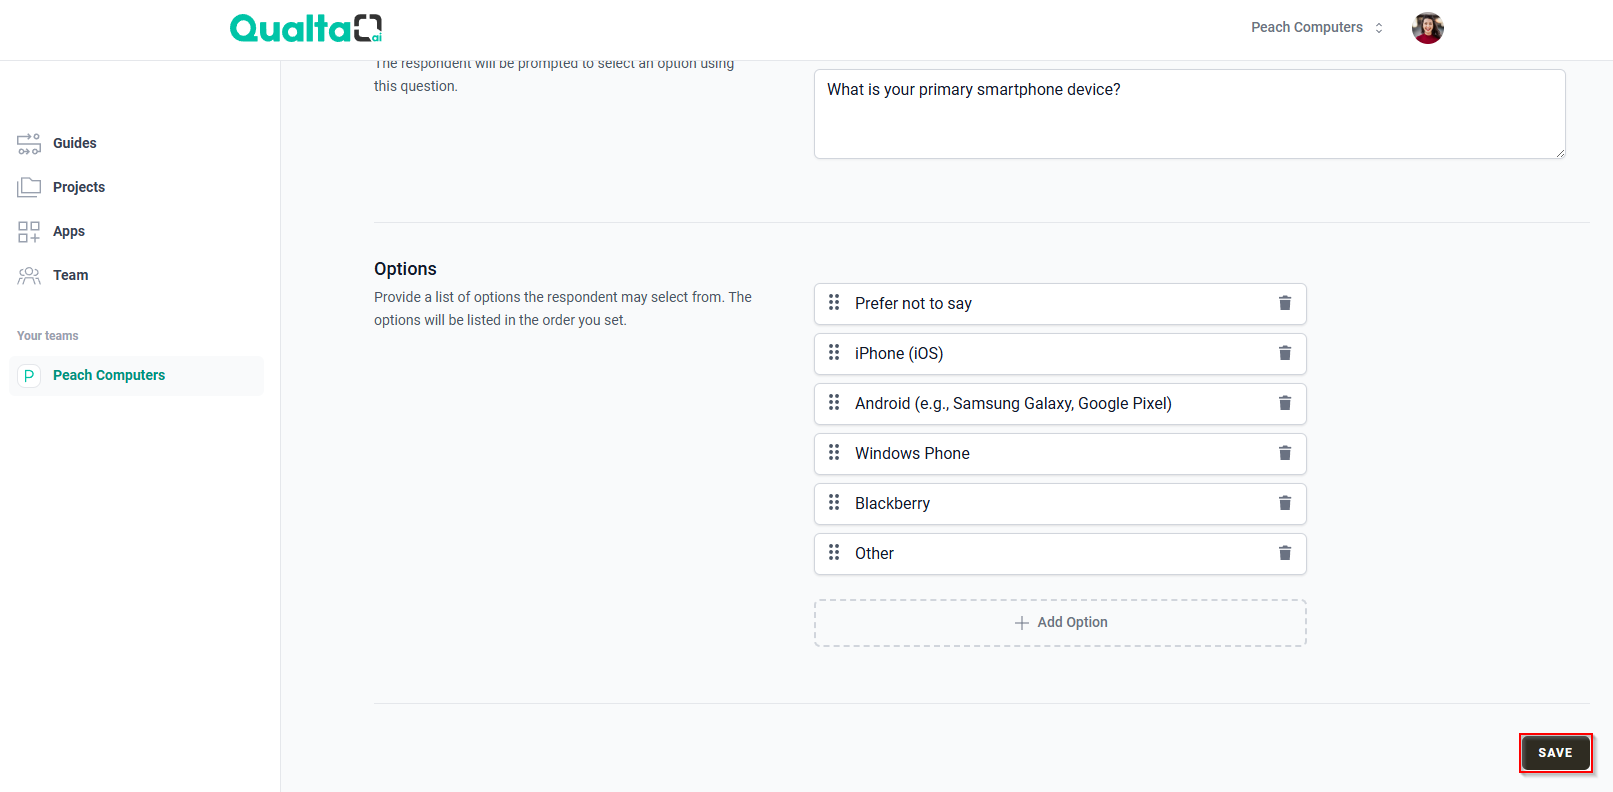
- In the Question field, enter the exact question the respondent will see (e.g., "What is your primary smartphone device?").
Make sure the question is clear and concise, as it will be displayed directly to respondents.

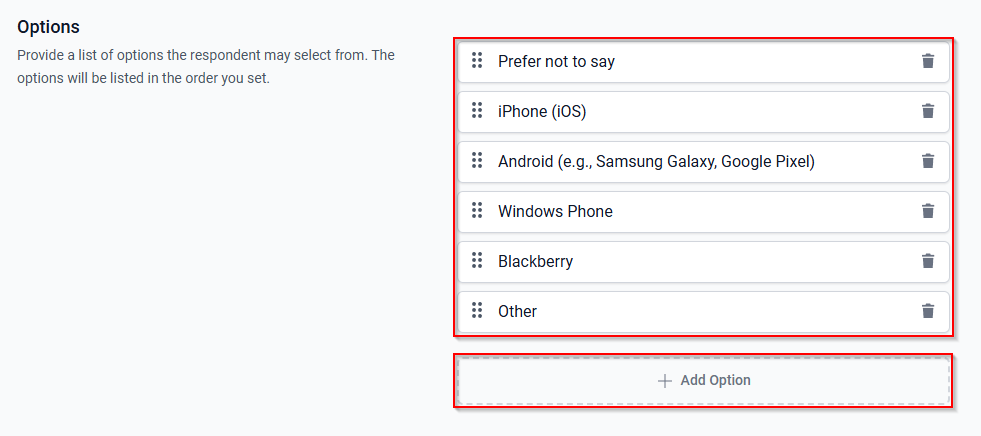
- Add Options for Respondents:
- Under Options, provide a list of answer choices respondents can select (e.g., "iPhone (iOS)", "Android", etc.).
- You can add as many options as needed by selecting + Add Option.
The default "Prefer not to say" option supports respondent privacy and generally should not be removed unless it is inappropriate for your use case.
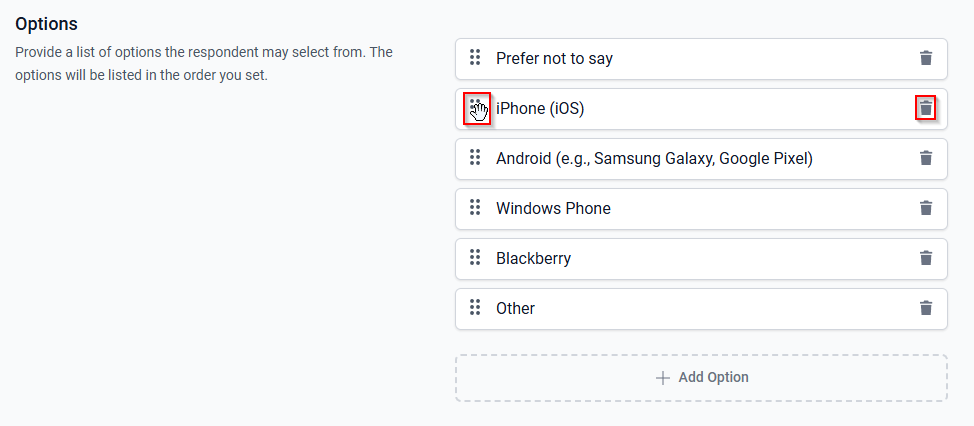
- Edit the Options:
- To edit an option, click on it and make the desired changes.
- To remove an option, click Delete (trash icon) next to it.
- To reorder the options, hover your cursor over the drag handle (the six-dot icon) next to an option. The pointer will change to a grip icon, allowing you to drag the option to a new position in the list.
- Complete and Save:
- Review your demographic name, question, and available options for accuracy.
- When finished, click SAVE at the bottom of the form to create the demographic.
Your new demographic will now be available for use within your team's guide and data collection workflows.
If you need a similar demographic, you can also duplicate an existing one instead of creating one from scratch. For step-by-step instructions, see How to Duplicate a Demographic.